

There are tried and true means for going about this. These techniques should help.
Seek out large files
In the old days the Finder didn’t allow you to search for files by size. Recent versions of the Mac OS make this possible. In the Finder just press Command-F and in the resulting Searching “This Mac” window, choose to view your files in a list. Click on the Kind pop-up menu and choose Other. In the sheet that appear enter “size” in the Search field, enable the In Menu option that appears next to the File Size option, and click OK.
Now choose File Size from that first pop-up menu and configure the condition to read File Size is greater than 200 MB. This will produce a list of nearly all the files on your Mac that exceed this size. (I say “nearly” because, by default, the search function doesn’t search system files.) Click on the Size column heading to see which files of these files are taking up the most room. Either discard unneeded files or archive them on another drive.

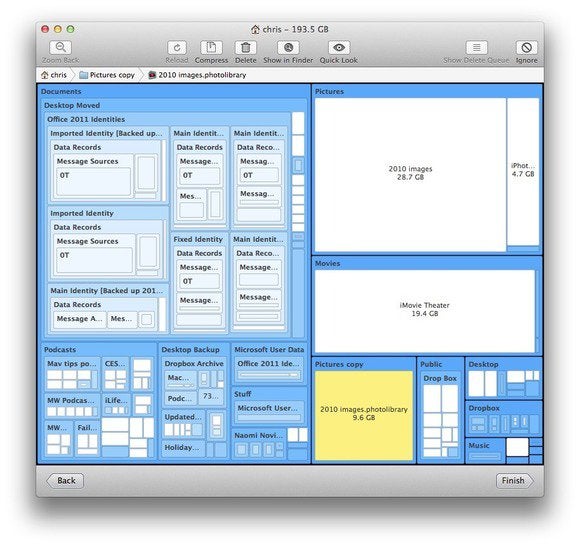
If the manual method seems tedious (and yes, it can be) turn to a third-party tool that makes it obvious which files are consuming large amounts of space. I use Fiplab’s $5 Disk Map for this sort of thing. It displays an overview of any folder I drag into it. Storage-hungry files are represented by large boxes and less demanding files are shown as smaller ones. I then determine if I really need those files on my startup drive and deal with them accordingly.
Clean out suspect folders
If you’re like many people, you download countless files with your web browser and forget to delete them. Now’s the time to open your user folder, double-click on the Downloads folder, and weed out the chaff. Again, you may wish to switch to List view and then click on the Size heading to find the largest files in this folder. Delete or archive those you don’t need.
While in the Finder, hold down the Option key, click the Go menu, and chooseLibrary. Within the Library folder open the iTunes folder and seek out any iPad Software Updates, iPhone Software Updates, and iPod Software Updates folders. Within these folders you may find large Restore.ipsw files. These are iOS packages and can weigh in at over a gigabyte each, depending on the device they’re associated with. Most people needn’t keep these files. Rather, should they need to restore their iOS device they can simply download the latest version of the iOS from within iTunes.
Empty the other trash
Most people are good about deleting files they’ve dropped into the Mac’s trash but are less cognizant of removing other trashed files. In particular you should launch iPhoto and take a gander at its trash.

When you delete images in iPhoto the files aren’t removed from your hard drive. Rather, they remain there and won’t be deleted until you choose iPhoto > Empty iPhoto Trash (or right-click on the Trash entry and choose Empty Trash). The same goes for Aperture, though you will, of course, wish to choose Aperture > Empty Aperture Trash.
Avoid getting into this mess in the first place
The advice I’ve offered is all well and good but without also changing some habits you’ll eventually find yourself back in the position of suffering from a choked hard drive. One way to avoid (or at least delay) that day is to store your files elsewhere from the get-go.
For example, you could shift the storage location for large files to another drive. A good way to go about this is to move your Documents, Downloads, Movies, Pictures, and Music folders to that drive while leaving behind symbolic links that direct files to your moved folders, as I describe here. Do this and your files are automatically placed on another drive without you having to lift a finger. (Of course you may have to break the habit of saving everything to the desktop.)
Another technique I use is to move my media files to a NAS (Network Attached Storage). This not only frees up storage on my SSD, but allows me to access my media from all the devices on my local network—Macs, iOS devices, Roku, and Apple TV.
If investing in a NAS is too much for your budget or patience, you can also move your iTunes media to an external drive
